My Go-To Free Tools for Coding Your Own Website

September 24, 2025
When I first started coding my personal website and blog, I had little to no experience with web development. As a student creating a website for fun, the only thing I ended up spending money on was my domain (though it’s completely optional). I’ve gone on an amazing journey since then, transforming my blank HTML document into my personalized home on the internet. Throughout all the fun and struggles I’ve had, I learned a lot about web development and picked up some favorite tools that I now use all the time! This post shares a collection of all those favorites, as well as some of the experiences I’ve gained through pure trial and error.
This post is a collection of the information and resources I wish I had known when I was starting, so if you’re interested in creating your own website, I hope you find this useful! Additionally, if you have any questions or concerns as you start your own journey, I would love to help you along your way. Please feel free to leave a comment at the bottom of the page or contact me
Before I begin, I want to remind you that this post is NOT sponsored! Everything I mention here is purely based on my own experiences with each tool. With that being said, let’s get into it!
Table of Contents
Domain: PorkbunHosting: Github Pages/Firebase HostingData Storage: FirebaseColors: Adobe Color WheelLogo: VistaprintImages: Online ToolsConclusionDomain: Porkbun
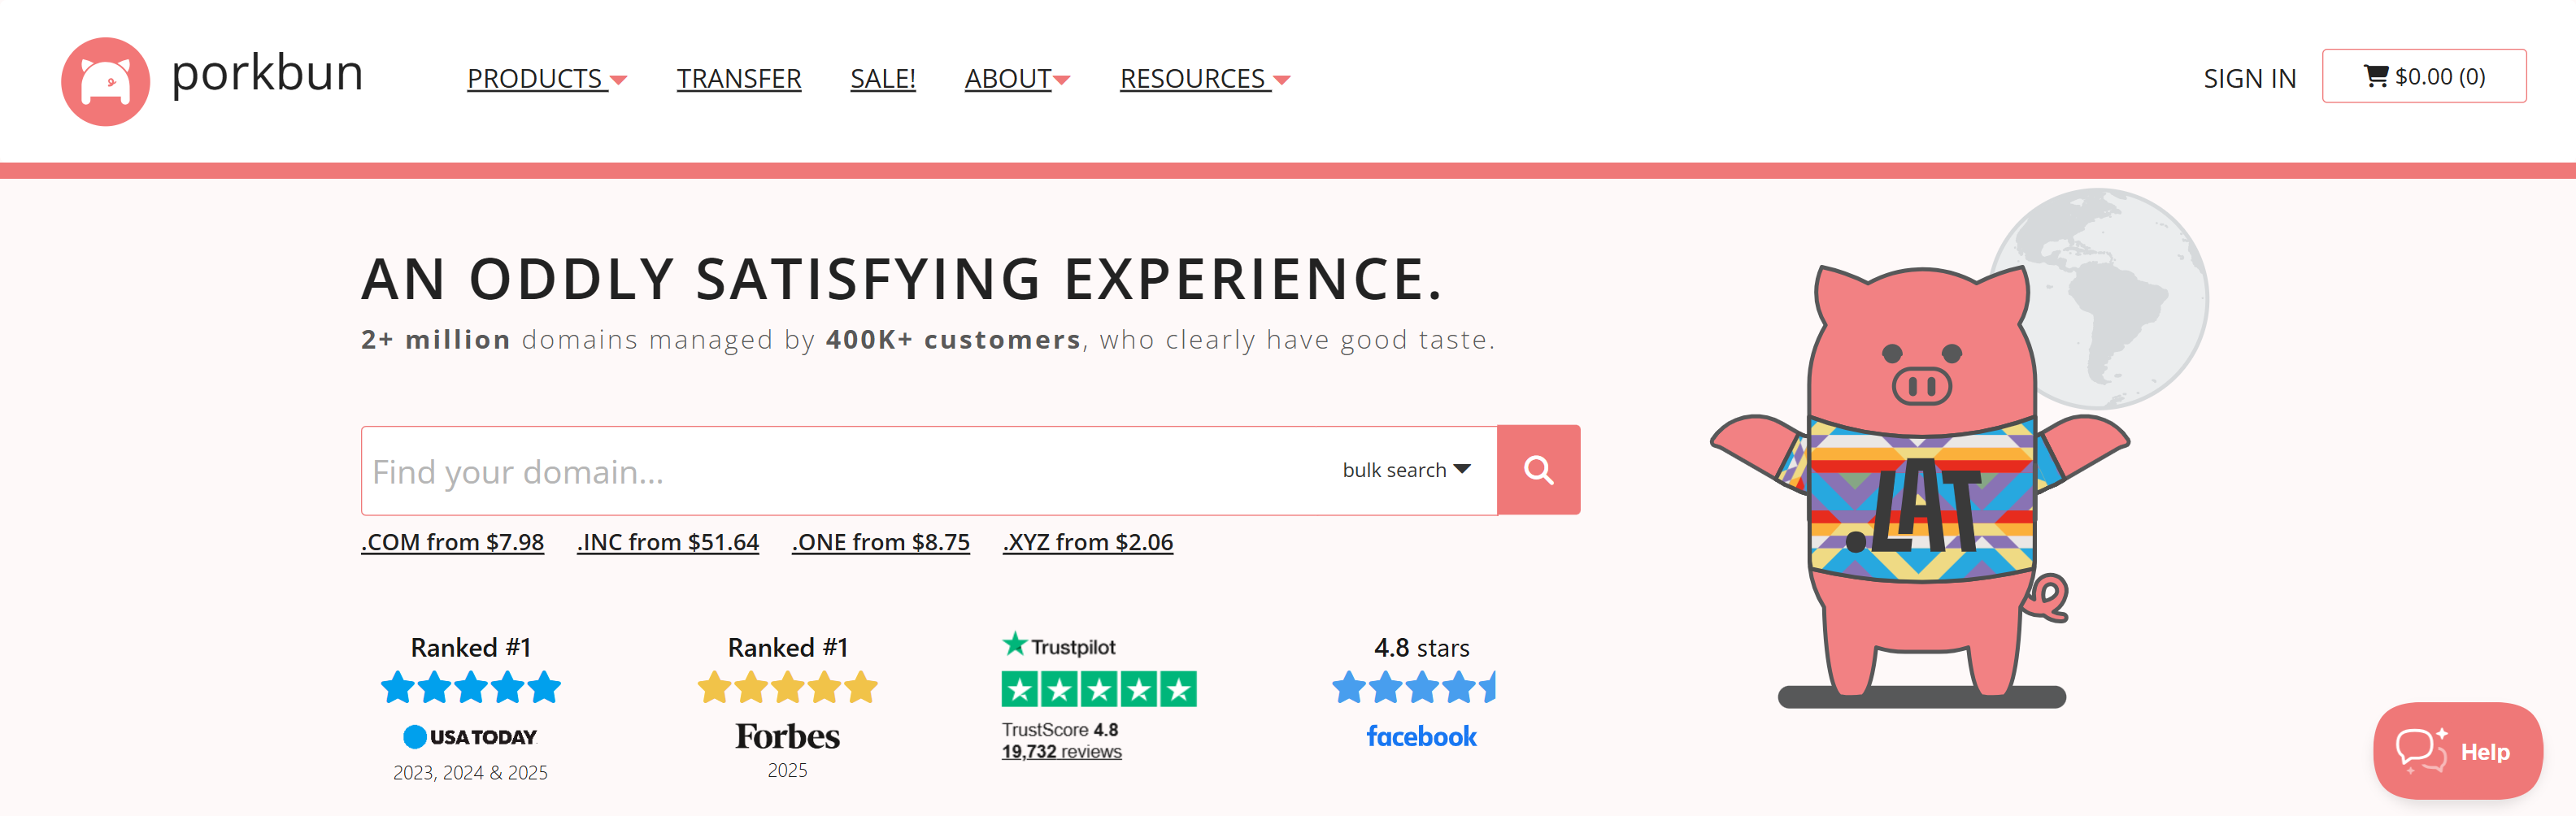
When I bought my first domain, I had absolutely no experience with running websites. I actually picked Porkbun on a whim after very little background research, but I’m so glad that I did. Porkbun has some of the lowest prices compared to other domain registrars, and don’t worry, they don’t suddenly raise your domain’s renewal price like some other sites. Porkbun is known to be very trustworthy and an amazing place to start whether you’re buying a domain for fun or for professional use.
If you’re buying your first domain, I would 100% recommend Porkbun, as it is super easy to use and has a clean interface. As a beginner, I felt that the setup was really straightforward, as there are tons of resources and videos available that can guide you through it. I haven’t had any issues, and as you can see, my site appears to be working just fine!
To get started, you can visit Porkbun here and search for any domain name you like.
Hosting
Github Pages
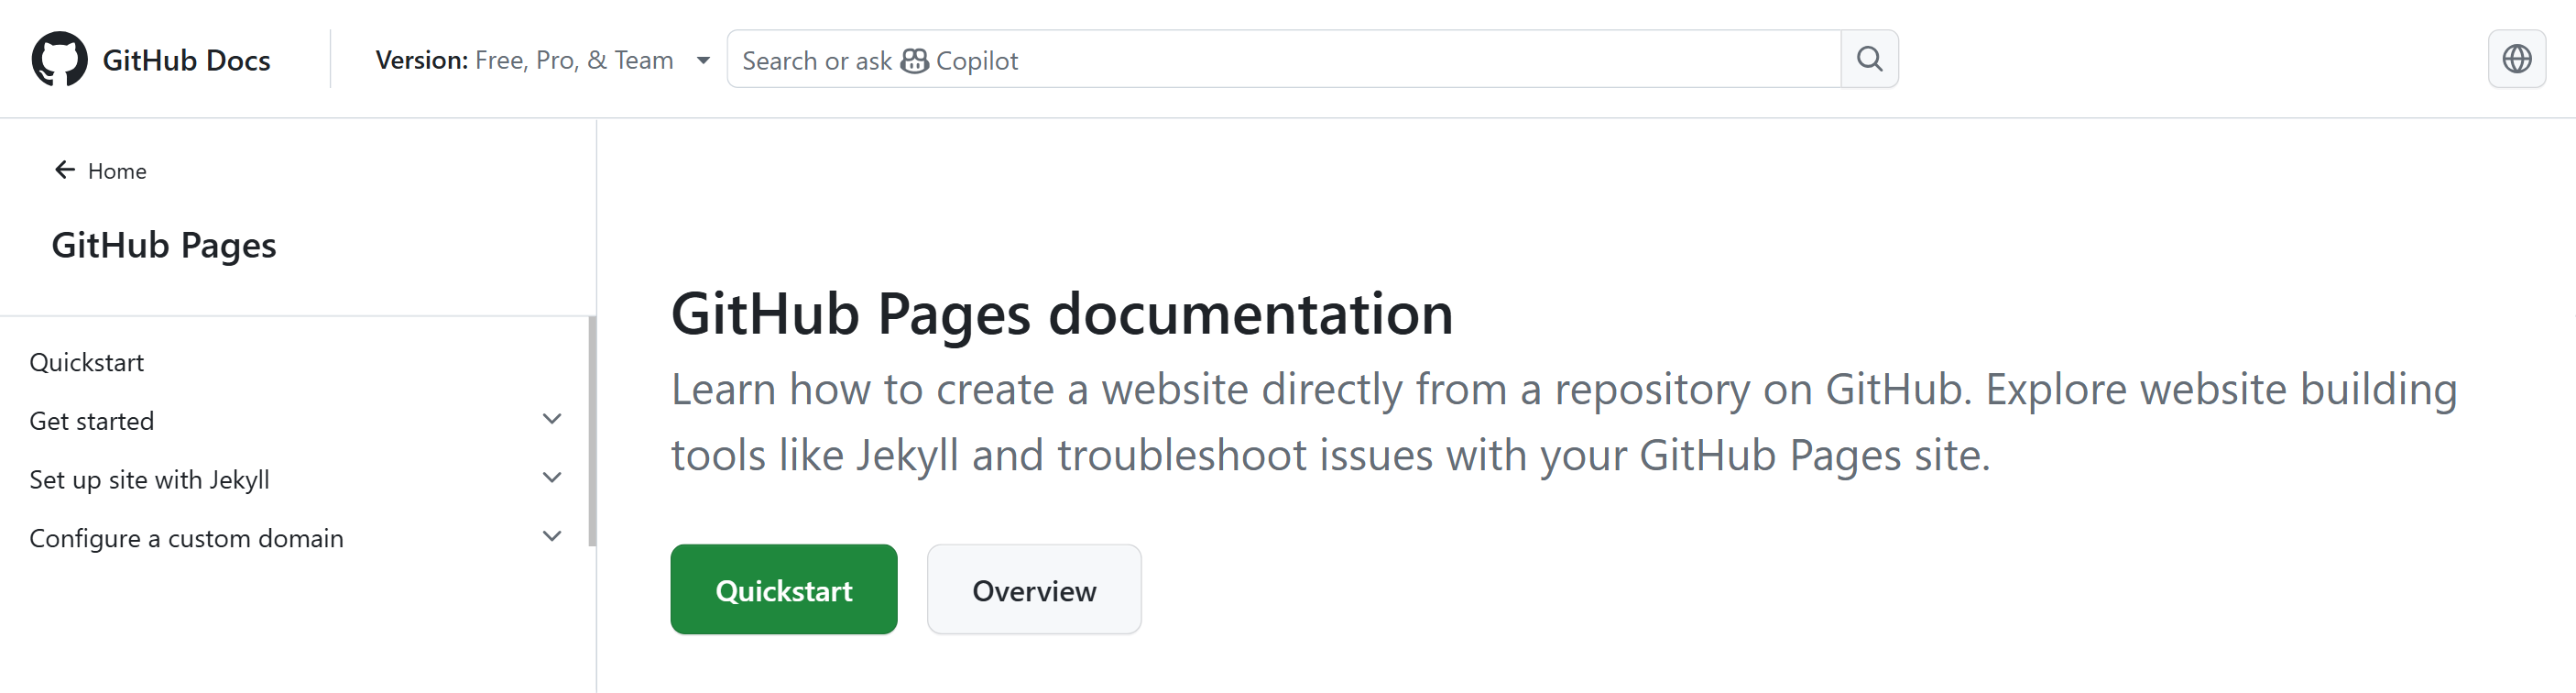
When I first hosted my website, I used Github Pages, which is free, super simple, and easy-to-use. Github Pages allows you to host your website whether or not you’ve purchased a domain. It’s perfect for beginners and projects that don’t have very complicated features, and it allows you to see your deployed website a few minutes or even seconds after you push to Github.
The tutorial here helps you set up everything from start to finish, and it covers how to create your own website within just a few simple steps.
Firebase
As I added all kinds of new features to my website, I ended up switching from Github Pages to Firebase Hosting. If you aren’t familiar with Firebase, it’s a web development platform provided by Google with many unique features. Firebase offers a free tier called the Spark plan that allows users to access features such as its hosting service, authentication, and database.
If you learn anything about me, it should be that I LOVE any and all Google applications (not the phones though, sorry, I’m team Apple for iPhones). The UI for Google apps always just makes so much sense and works so nicely, and everything I need is always there. So, when I discovered Firebase, I didn’t even hesitate to start using its features. To no surprise, Firebase met all my expectations, and the only thing I could wish for is for all the other features to be free to use as well! So, although Github Pages was working fine for me and I didn’t have any problems, I ended up switching to Firebase Hosting because I was intrigued by its many features and also learned that it would automatically give me access to Firebase Analytics.
In Firebase Analytics, you can see very detailed statistics on how users interact with your site. It not only tracks basic numbers like user counts, total views, and event counts, but also statistics such as user demographics, technology, countries, and so much more! Because I was constantly updating and making changes to my website, I even linked my Github repository to Firebase Hosting so that my site would redeploy every time I pushed to Github!
Although implementing Firebase Hosting and getting everything connected and set up was much more difficult than Github Pages, I think that the trouble was worth it for me in the end. Depending on your situation, being able to see analytics can be very beneficial, and hosting on Firebase allows for dynamic sites and makes your website feel more professional. However, if you’re just a beginner wanting to deploy a site that can be accessed by others, I strongly recommend using Github Pages. On the other hand, if you’re looking to create a more advanced and professional site, you can look into Firebase hosting here. I highly recommend setting up Firebase hosting if you want to see detailed analytics for your page, and I also recommend a few of its other features such as authentication and data storage.
Data Storage: Firebase Firestore
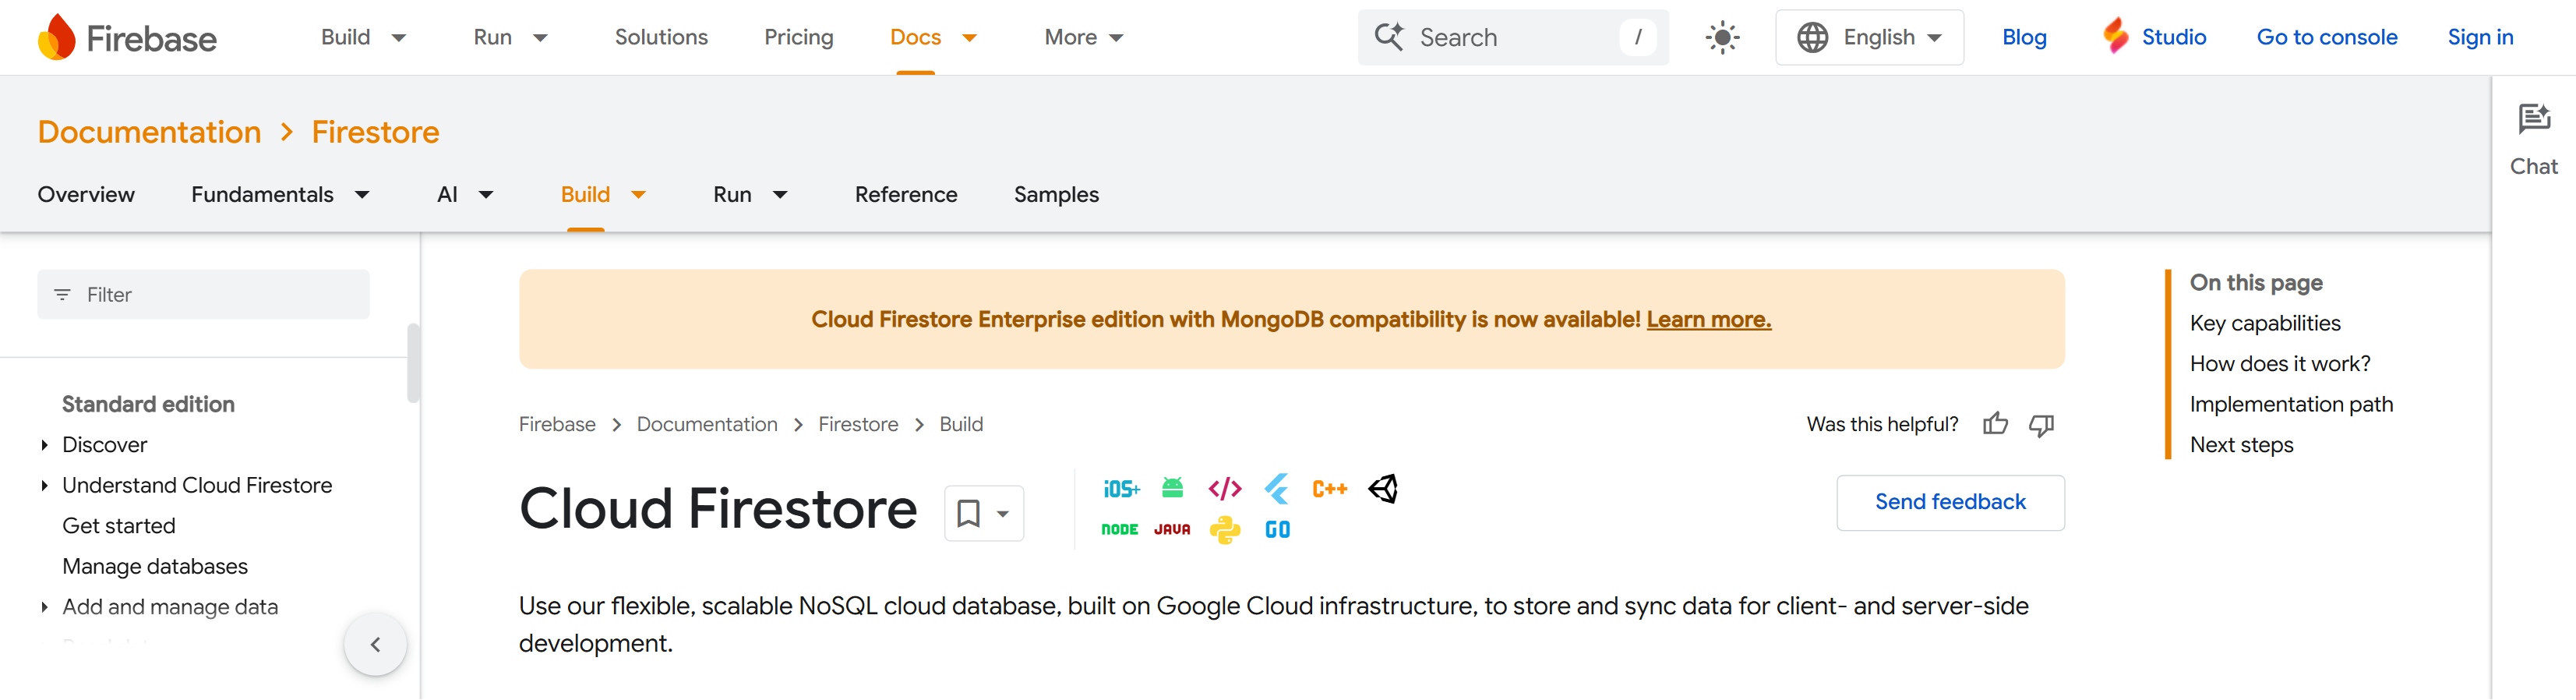
The other feature I use a lot from Firebase is the Firestore Database. If you didn’t read my earlier introduction to Firebase, you can see it above. The Firestore Database is free to use under the Firebase Spark plan, although it does come with a few limitations (but they should be more than enough unless you’re running a HUGE site).
This database is perfect for a ton of different uses. In my personal website, for example, I use it to store text that I frequently update so I don’t have to manually change my code all the time. In my blog, I use the database to not only store my blog posts, but also to store comments that users post and delete.
As you set up the Firestore Database, there are step-by-step instructions to help you get started, and although they are more difficult than setting up something like Github Pages, it shouldn't take more than a few hours even for a beginner. Of course, there is tons of documentation (although you could argue it’s kinda confusing), and as I’ve integrated a lot of my data storage into this database, I’ve found it easy to use and retrieve data from. It’s been working really well for me, so if you’re interested in getting started, you can check it out here.
Colors: Adobe Color Wheel
One of the few challenges I was really surprised to encounter when creating my own website was picking out the colors. It’s hard to tell what colors work best with each other, and when you don’t plan out color palettes and combinations, your website can be left looking odd and unprofessional. Additionally, depending on the mood or brand you want to create, the pops of color throughout your website can play a crucial role.
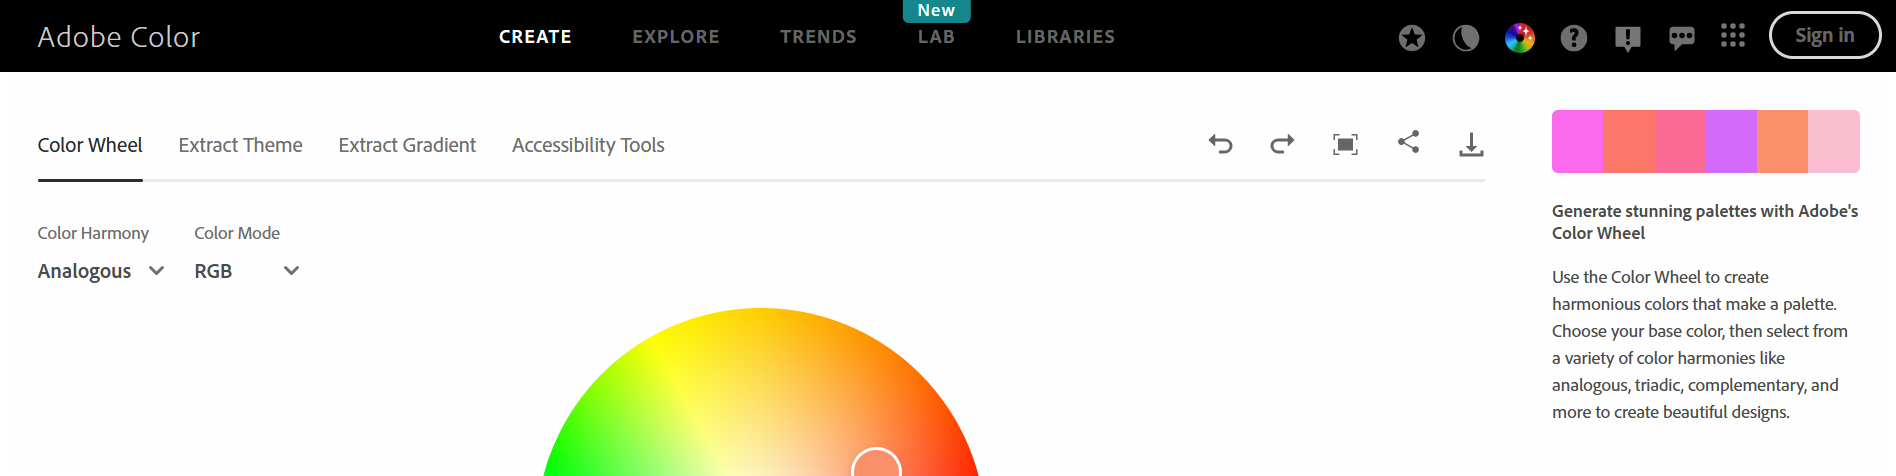
Personally, I didn’t have any strong ideas or opinions color-wise when I started my website, and I ended up going for a warmer hue with pops of pink. There are so many color pickers and palette generators out there, but I always felt limited by a palette with just a few colors to choose from. Of course, palette generators can give you a great idea of the color scheme you want to go for, but when it comes down to actually picking the exact colors scattered throughout your website, I love to use the Adobe Color Wheel.
This color wheel is great because you can pick a "base" color as well as your desired color harmony, and the wheel will automatically offer you a variety of related colors to choose from. It’s hard to explain if you haven’t played around with it, but if I knew what I wanted the background of my website to be, I could pick a setting like "Monochromatic" or "Shades" to see an assortment of similar colors I could use for areas like navigation bars or footers. If I wanted to pick a nice pop of color, I could use the "Complementary" setting and add more swatches if I wanted more options. I used this tool so much in the early stages of my website, and it’s my #1 go-to color picking application!
Logo: Vistaprint
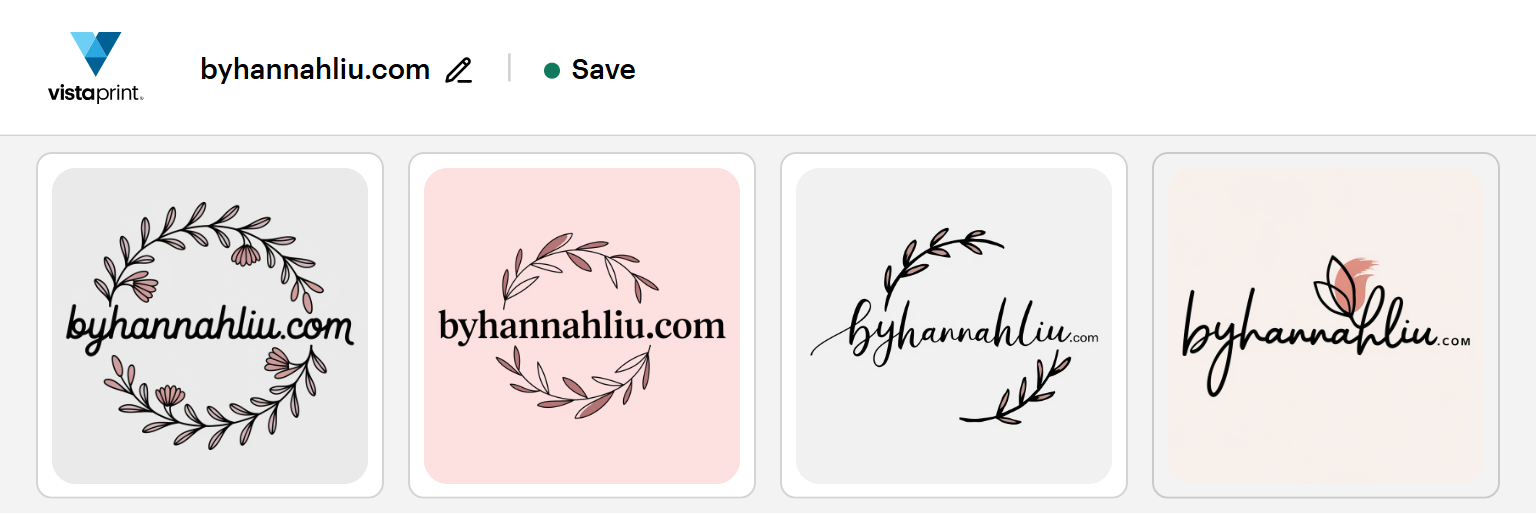
Creating a logo is hard, especially if you're on a budget. When I made my blog, I wanted some kind of personal icon that could represent my site, but I had no idea how to create it. My drawing skills aren’t great, so I could only rely on the tools the internet had to offer. I tried countless generators, trust me, but none of them met the idea I had envisioned. If you’ve ever tried to create one yourself, you would understand. They usually never fit the idea you’re going for and always seem to have one problem or another.
That’s why I was so surprised when I tried Vistaprint’s AI Logomaker. I know this might sound like an exaggerated glorification, but this tool is completely free (with some limitations of course), and when I tried it, the results it generated went WAY beyond my expectations! It’s nothing like other typical AI logo generators, and it actually understands the concept you’re imagining as long as you put it into details. After it spits out a few design ideas, you even get the chance to comment on and correct the designs it offers you. It’s not perfect, but it’s the BEST logo designer I’ve found by far! The only downside is that you get just 64 free logo generations, so I would use them sparingly.
If you’re interested in this, I highly recommend you check it out here and click the "Start creating" button to get started.
Images: Online Tools
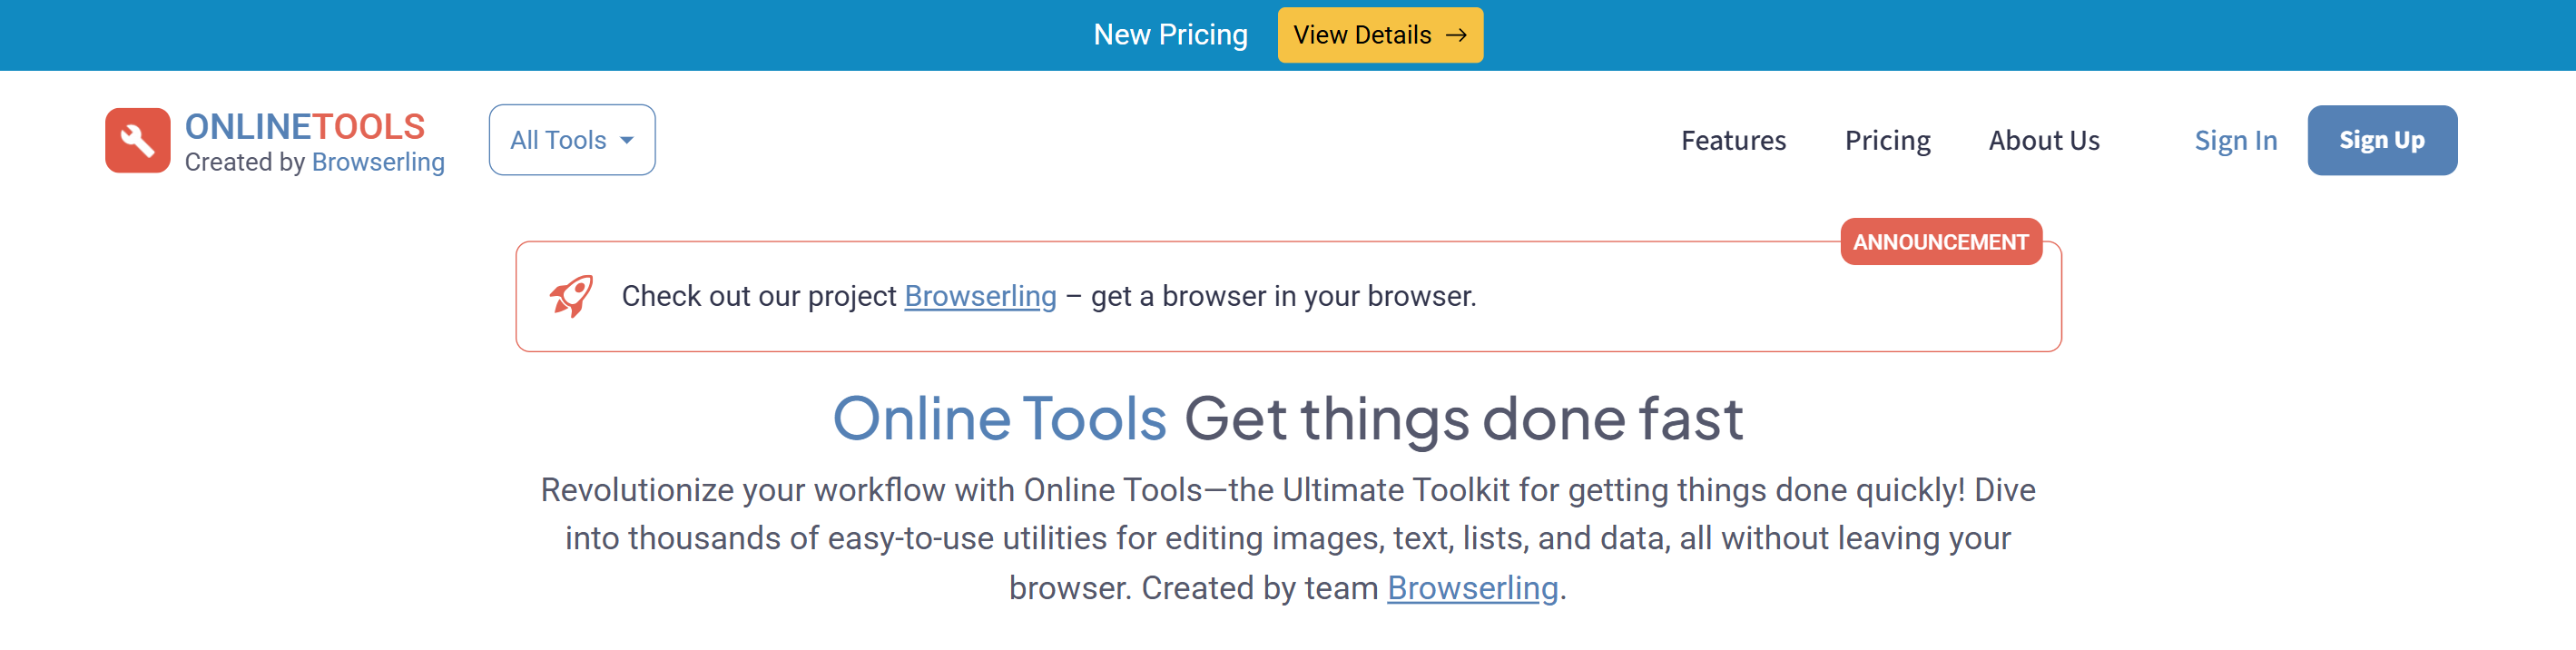
Before you click away, Online Tools does NOT just refer to various random tools I’ve found online. It’s actually the name of an organized website that creates a ton of super useful and easy-to-use tools that I utilize to help me edit images. The tools are all free with the only cost being some of your time spent on watching ads. Just like the logo generator, though, the tools that Online Tools offers are WAY better than any others out there. Not only do they hold a huge collection of different tools all in one place, the quality is absolutely amazing, leaving me with no complaints.
Whether you’re removing a background, converting file types, swapping one color for another, or even adding a shadow to an image, the sheer accuracy that Online Tools has is AMAZING! You can even toggle specific details and personalize the edits to match the idea you’re going for. For editing images, I definitely use the Online JPG Tools and Online PNG Tools the most.
These tools make editing and tweaking images so much easier and more convenient, and combined with the Vistaprint Logomaker mentioned above, you could create an amazing personalized logo for free!
Conclusion
If you’re looking to get started with your own personal website, I hope you check out all the resources I’ve mentioned above. They’ve genuinely helped me so much, and I hope you like them as much as I do. I would really appreciate it if you left a comment or shared this with someone else, and I wish you luck on your own journey through web development! It’s an amazing experience, and I hope you have as much fun as I did!
If you have any further questions about how I’ve created my website/blog, please leave a comment down below and I’d love to answer it! Likewise, if you have any tips or suggestions, I would love to hear them as well!
Comments (0)